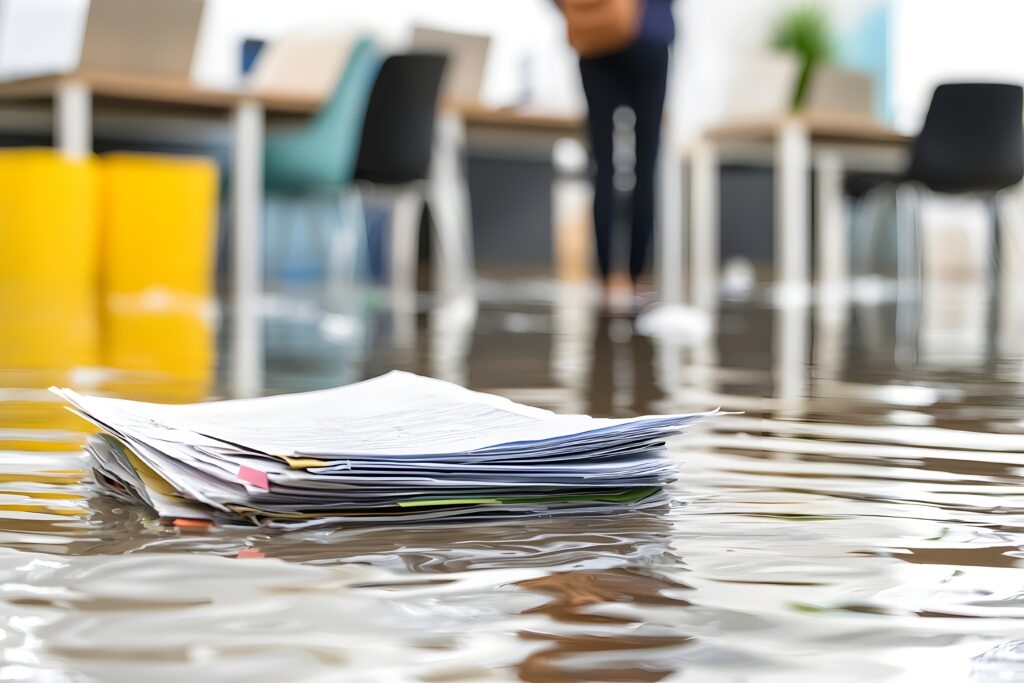
When your home experiences water damage, it requires more than just running a few air movers to dry it out. Getting excess moisture out of your home often requires a scientific process that starts with a thorough inspection. This is considered the diagnostic phase to identify all potential affected materials and to prevent potential toxic mold damage that could lead to long term structural damage of your home.
Step 1: Identifying the Category of Water
Within the restoration industry there are three different categories of water damage that your home may be subjected to. Category 1 water is often freshwater coming from your water supply lines. Category 2 water may have the potential to cause discomfort or sickness if consumed. This water damage typically results from the discharge of a washing machine or dishwasher. Category 3 water is grossly contaminated; examples include but are not limited to sewage or contaminated ground water from outside your home. The specific type of water damage that you have can greatly impact the safety and cleaning protocols that we utilize. Category 3 water may require thorough cleaning and antimicrobial treatments along with personal protective equipment for our team’s safety.
Time is of the essence. If not addressed quickly, a Category 1 loss today may degrade to resulting in further damage and expenses.
Step 2: Moisture Mapping and Thermal Imaging
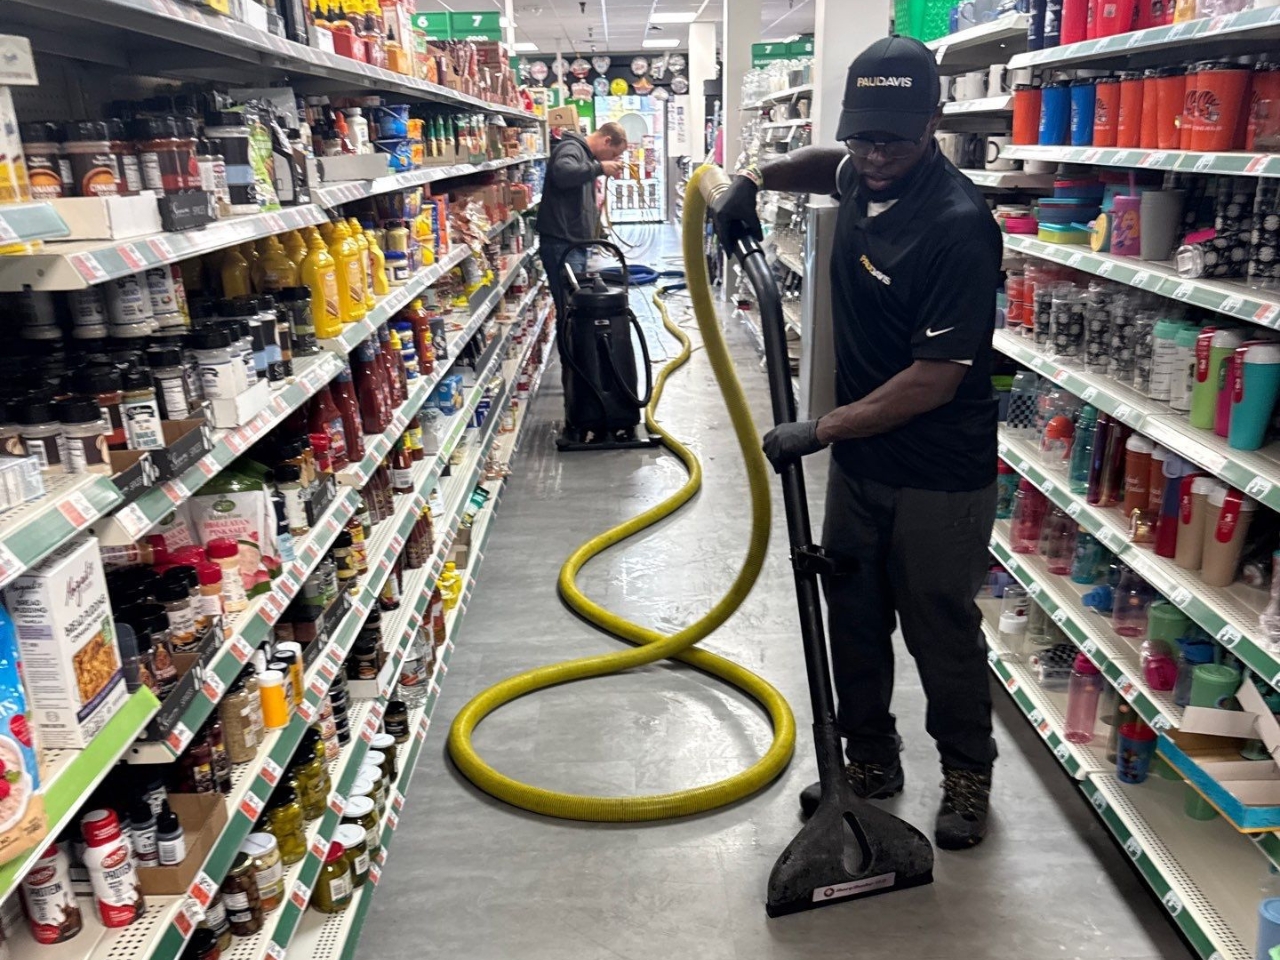
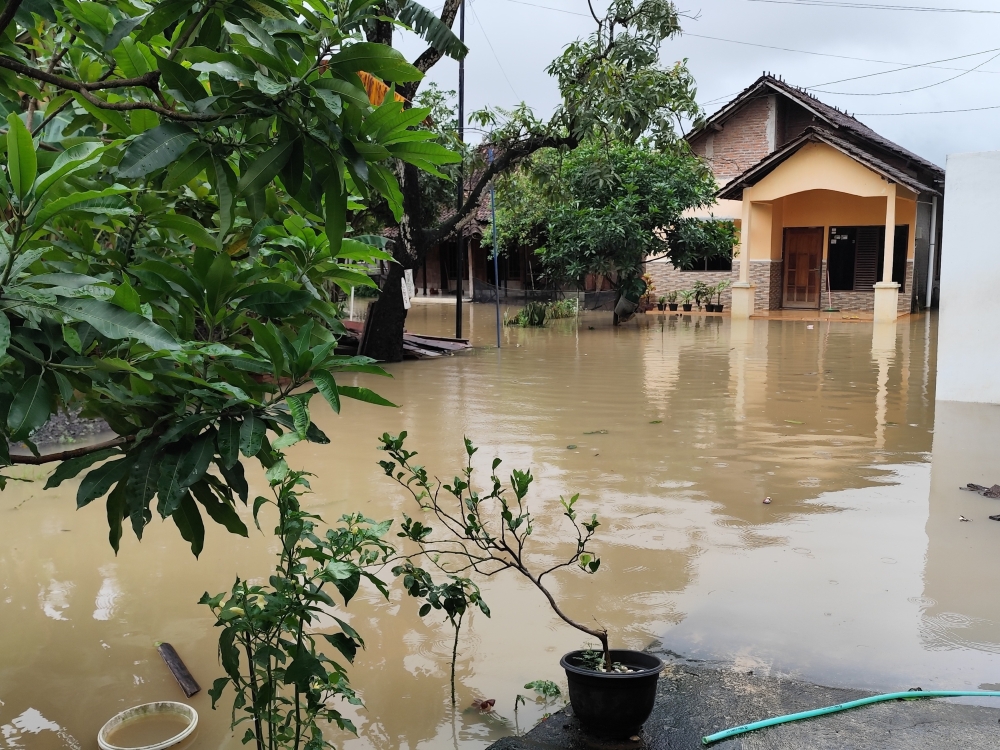
Unlike basement flooding and other obvious forms of damage, our team of water restoration pros has a wide variety of high-tech tools at their disposal. Equipment like moisture meters and infrared cameras allow us to detect indicators of water behind fixed materials like drywall, and then ensure they are fully dried beyond the surface. By identifying these hidden water leaks, we can recommend appropriate restoration practices for your property and determine if there is the potential for water damage beyond what the eye can see.
If you fail to get this professional assistance, there may be underlying damage to your home that you’re not aware of, which can worsen over time.
Step 3: Assessing Structural Integrity and Safety
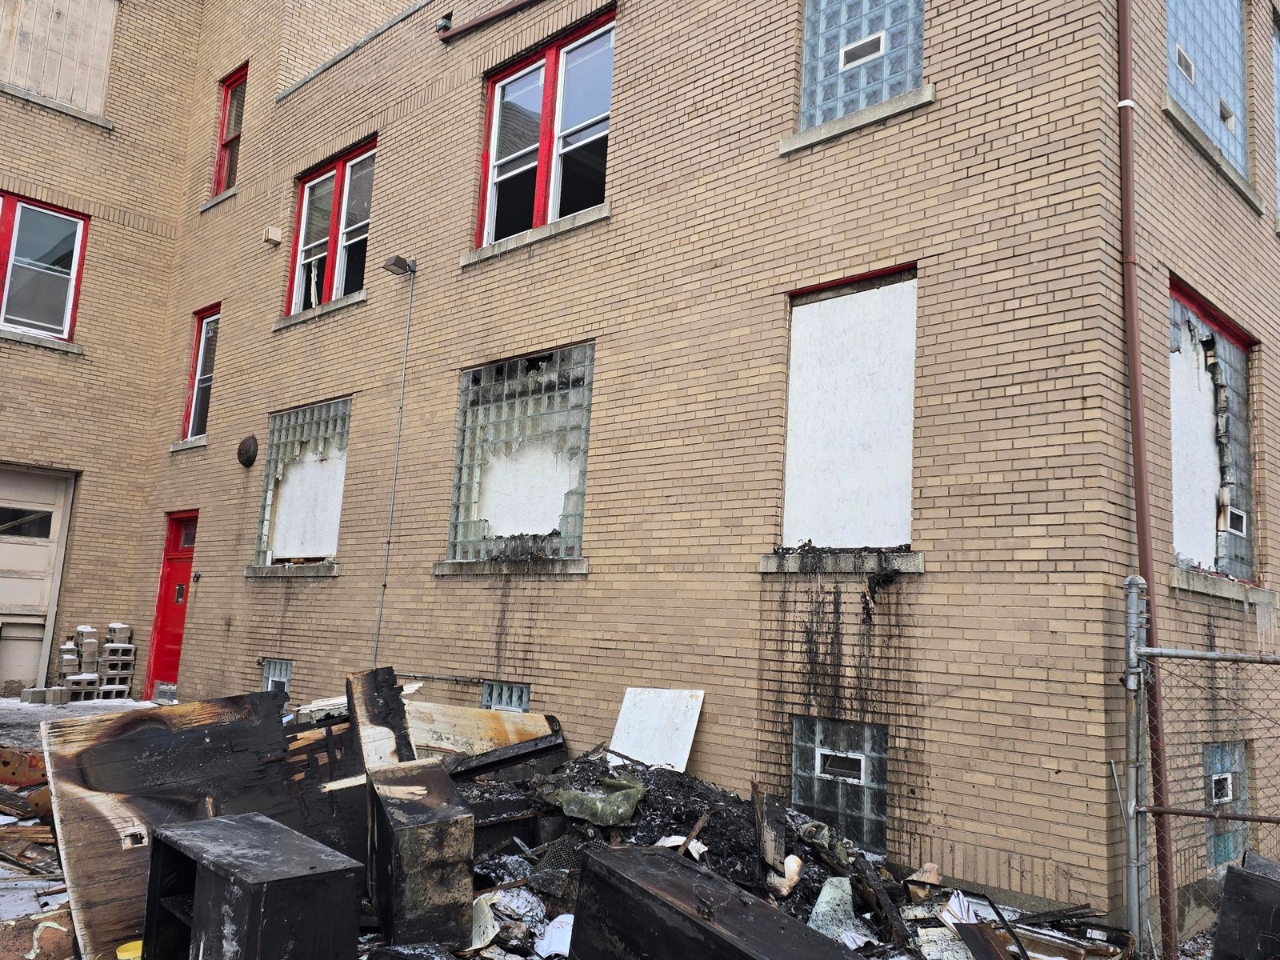
A big part of our inspection process is checking the structural integrity of your home and its overall safety. Our evaluators will look for potential electrical hazards or secondary damage risks that occur due to the water intrusion. For example, this may be flooding of lower-level outlets on your walls that may require an additional inspection by a licensed electrician to evaluate for the replacement of wiring and outlets.
Our inspectors also evaluate your flooring, subflooring, and the framing of your home. We’ll detail items that can be easily saved and those that may require full replacement. This ensures that the structural integrity of your home will remain securely intact when we finish the repair process.
Creating the “Scope of Work” for Insurance
After doing a thorough inspection of all the affected areas, we’ll put together a documented plan. This plan will assist in the validation of the restoration costs and services needed by your insurance company. The goal for your insurance claim is always to return your property to its pre-loss condition.
Why DIY Assessments Fail
It’s often not a good idea to consider doing DIY assessments for your insurance claim when it comes to water damage to your home. Homeowners commonly miss moisture issues that are not obvious to the eye. For example, there may be moisture trapped in your insulation or even under your cabinets. Over time, this can deteriorate and lead to hidden mold.
These can be extremely costly issues to deal with, including mold remediation and replacing components when they fail. It’s best to leave it up to one of our professionals who has the proper training and equipment to document all the damage to your home. You never want to rely on a simple touch test of what you think might be wrong.
While it can feel like the end of the world when your property experiences water damage, with the right plan from a restoration expert, you can successfully recover. It starts with a professional inspection. This will provide the documentation you need and the scope of work to submit to your insurance company to make a successful claim.
Contact Paul Davis Restoration today to schedule a professional water damage assessment for your property.
FAQ
Whether it’s about our restoration services or filing a claim, we get a lot of questions from our clients. Below, we’ll address some of the most common questions that we receive so that you can learn more about our service offerings.
How long does a water inspection take?
A water inspection typically takes about one to two hours. However, this time frame can vary significantly depending on the size of your property and the extent of the damage. Our inspectors can let you know when they get there what their estimated completion time will be.
Do I have to move my furniture before the inspection?
It isn’t necessary to move your furniture before the inspection. We do advise that you take some basic safety measures and clear a path to ensure that we can easily walk around the property to perform the inspection. Our pros will handle much of the heavy lifting for you if needed.
Is the inspection covered by insurance?
In general, most inspections are considered part of your insurance claim, but details vary by policy. This means that your insurance company will typically pay for the claim you submit. Our inspectors will be more than happy to discuss different aspects of insurance claims to help you better understand the process, and we make it hassle-free by working directly with your insurance company.